

IWBP Overnight Ride Guide
Monthly no drop overnighters help new or experienced bikepackers build their skills and confidence, and are the real key to the group’s success. Here's everything you need to know before coming along.

Why group overnight rides?
This is where we put all we’ve learned and prepared into practice. New riders are mentored along, and more experienced riders continually refine their skills and kits. And of course we have a great time and make even better friends. There’s nothing quite like learning and bonding through challenges.
What’s the cost?
No cost, no catch, and IWBP is not a business. We love bikepacking and empowering women. We’ll keep doing it for free until the interest dwindles or we get too old :)
Will my bike work?
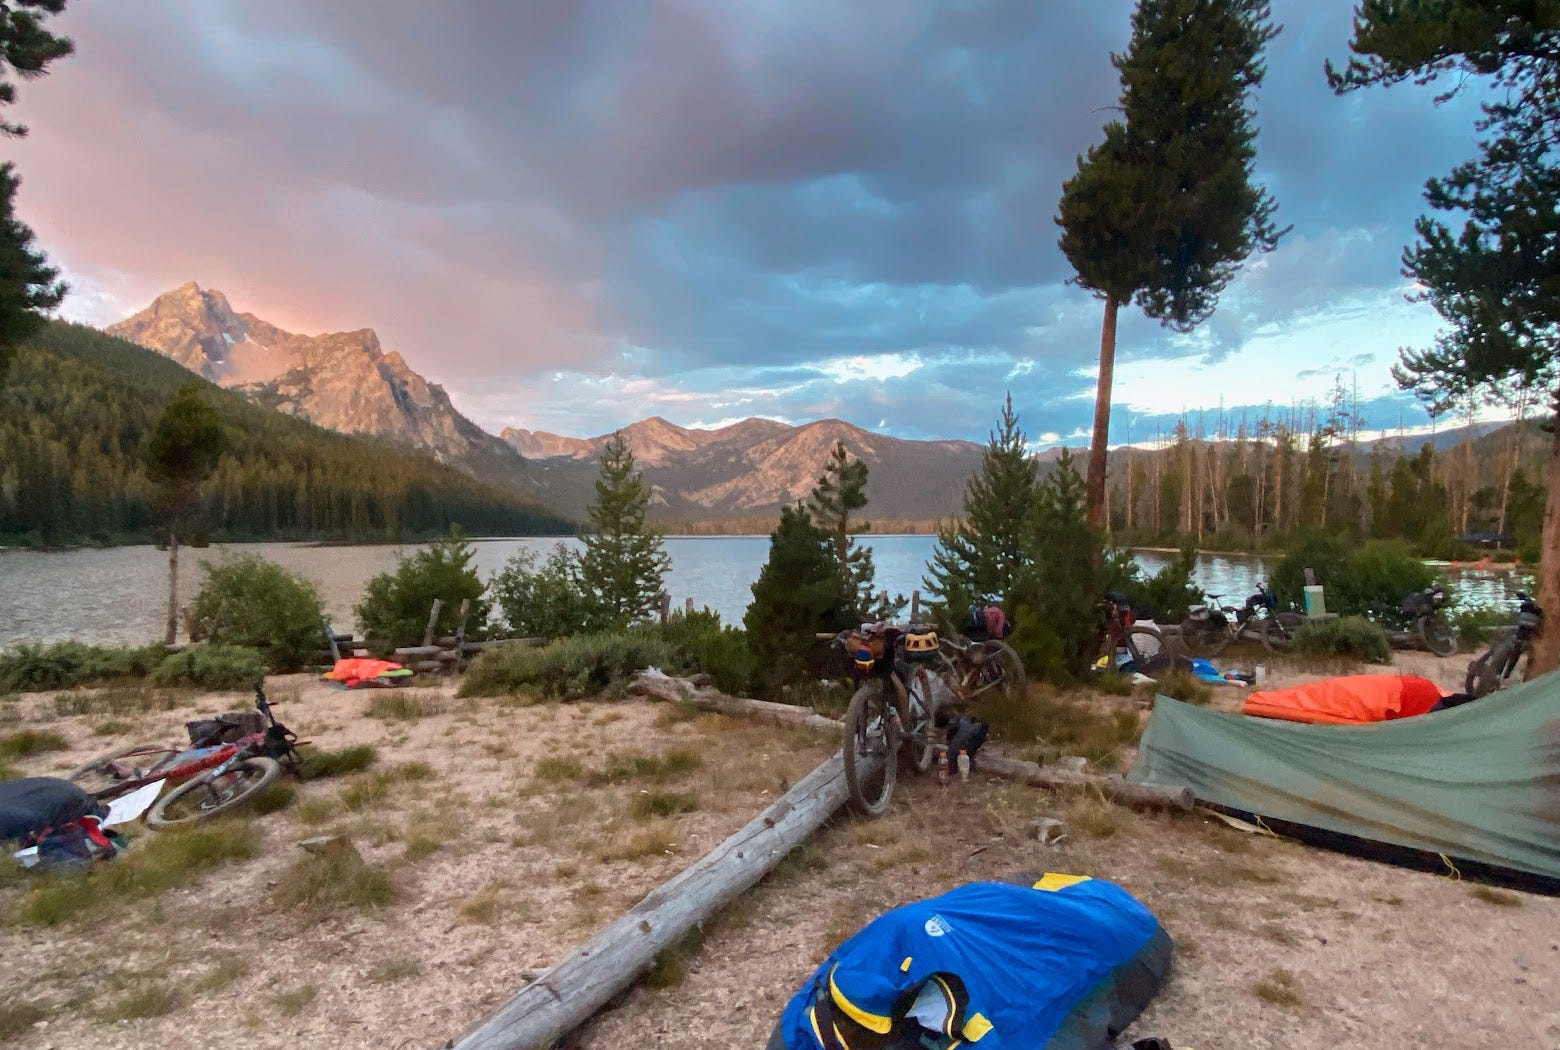
What type of bike to use for bikepacking is a huge topic that the group can help answer in detail. A few basic pointers:
Start with what you have! As long as it’s in good working order and not an e-bike or a road bike, chances are it will work, especially for beginner rides.
Most mountain bikes (MTB) will work well. More downhill or enduro oriented bikes will be more heavy and inefficient.
Gravel bikes can work well on most of our rides. Some are more technical or singletrack-heavy, and may not be as enjoyable on a gravel bike unless you’re more skilled and used to “underbiking.”
Minimum recommended tire width is 2.2 inches for an MTB, or 50mm for gravel tires.
Tubeless tires with adequate fresh sealant are highly recommended.
How do the monthly rides progress?
Each year our general schedule is to start monthly overnight rides in March, then continue through September or October. It’s best to consider each calendar year like a curriculum that builds.
Spring rides are designed for beginners, and are less physically and logistically challenging (e.g. Loftus Hot Springs, 37 miles, 1000 feet). Then each month they get a bit longer and more adventurous, until by late summer and fall we’re doing intermediate to advanced rides (e.g. Atlanta and Trinity Lakes, 110 miles and 14,000 feet). This is in part to prepare those who are training to enter a self supported race in the fall (e.g. Smoke ‘n’ Fire, East Idaho Epic, Utah Mixed Epic, or Oregon’s Big Lonely). Then we try to fit in one more easy ride late in the year just for fun and to celebrate the season.
Just as with any training course, it’s possible to join mid-year if you’re already somewhat experienced, but it’s best for new bikepackers to begin in the spring.
What if I want to stay on track, but can’t make it to all the group rides?
We understand that no time can work for everyone. If you miss a group ride, keep up by doing the same or a similar ride at a time that works for you. Go out with a friend or partner, or post your plan in the Substack private group, and you will most likely find others in the same boat.
What should I pack?
Start with our basic suggested packing list. Study the route description, map, logistics, and weather forecast to customize what you bring on each trip. Ask questions. Remember that the number one mistake for new riders is packing way too much.
What if I don’t have all the gear I need?
We have a free Gear Library for that! Read all about it here.

How do I know if I am ready physically?
Study the route description, including the difficulty ratings. These are based on bikepacking.com’s rating scale, and use 1-10 point scale in four categories.
Climbing — how steep is the terrain is, based on average feet climbed per mile ridden.
Technical — how challenging the terrain is. For example, maintained gravel may be 1-2 / 10, whereas more challenging singletrack may be 7-8 / 10.
Physical demand — how strenuous the route is overall. This includes length, climbing, maximum elevation, hike-a-bike sections, etc.
Resupply and Logistics — how much skill and planning are required to do the route successfully and safely. Routes will have a lower rating if they are a loop, have ample water, and include food / resupply stops. A route with fewer of these luxuries will score higher.
Other tips to prepare physically:
Do similar length rides in the weeks leading up to the event. If you feel good doing a training ride that is about 80% of the overnight ride’s hardest day, you are probably ready.
Practice loaded riding. Get used to the extra weight and how it changes the handling of your bike.
If in doubt, ask the group for advice — members want you to succeed and will be supportive.
What should I know to be ready mentally?
Be prepared for adventure and some “type two fun.” Rides are meant to be challenging! Sometimes this means facing the unexpected and changing plans on the fly.
Expect long hours on the bike. Overall (including breaks, meals, helping with the inevitable gear or mechanical malfunction, etc.), it will take about 2 hours for every 10 miles traveled. It’s much more time in the saddle than you may be used to.
Commit to keeping IWBP supportive and kind. No exceptions.
Embrace roughing it with the rest of us. No support vehicle, sag wagon, partner meeting you at camp with food or a camper, or other special arrangements.
Do I need to be able to navigate myself?
Eventually, yes, we want to help you get there. As a beginner, however, it’s not necessary as long as you stay with the group. A simple rule of thumb is if you don’t 100% know the way, stay with someone who does. And the surest way to do this is to slow down and stay with the “no drop” person (usually Laura).
What does “no drop” mean?
All official IWBP overnight rides are no drop. This means that no rider will be left behind, regardless of their pace or skill level. If someone falls behind, the group will slow down or stop to allow them to catch up.
Note that this no drop policy may not apply to unofficial rides arranged by others. Read descriptions and ask if in doubt.
What if I can’t finish?
If a health or mechanical problem arises that can’t be fixed, you may need to drop out of the ride. All participants need to have their own bail-out plan, with someone on call to pick you up along the way if needed. Be sure it’s someone with the right vehicle and navigation skills to be able to get to you. We will help you contact your ride via satellite communicators if needed.
Can I bring a +1?
If it’s a woman, have her join the group and be included in the official ride RSVP list.
If it’s not a woman, it depends. Some groups are small enough to allow +1’s, and some are not. Generally the groups are bigger in the spring and get smaller through the year. Watch the event for details on this, or ask Laura.
How do I “sign up” for an overnight ride?
Each overnight ride will be posted as an article to our private Substack. To RSVP, reply to the article with a comment. Then please keep your RSVP status up to date, especially if you need to back out. Otherwise we won’t know you aren’t going, and you could be taking someone else’s spot.
Please read the full article. Each will contain a wealth of information, including:
Route description, highlights, mileage, and elevation gain
Difficulty ratings (see above)
Where and when to meet up and begin
Breakdown of each day
Water and food requirements including resupply stops
Camp, shelter, weather, and clothing information
Links to the route in various formats (usually Gaia GPS, Ride with GPS, and Strava).
Recommended Preparation Timeline
Winter
Watch for the ride schedule to be posted. Start planning time off work, etc.
Review previous rides to get an idea of what to expect.
Gather and inspect the gear you do have, and slowly accumulate what you don’t have.
Learn about the Gear Library and start to plan how this can fill any gaps in your gear.
Get your bike in for a full tuneup.
One month before the ride
Continue building the length and elevation gain of your training rides.
Schedule a Gear Library “fitting” if needed.
Two weeks before the ride
Finalize your RSVP status.
Submit your Gear Library request.
One week before the ride
Watch for Laura’s ride prep live video. These review all you need to know and include Q&A. They have been especially helpful for newbies to feel ready.
Pick up Gear Library items
2-3 days before the ride
Basic home bike wash and tune, paying most attention to the tires (including sealant), brakes, and drivetrain.
Load everything on your bike to make sure it fits.
Weigh your entire load, including your bike and anything you will carry on your body. It should be no more that 50 lbs. total (not counting water).
Go for a shakedown ride. Hit some good bumps to test for any tire rubbing or items shaking loose. Run through all gears to ensure smooth shifting. Test the brakes with a few hard stops.
The morning of the ride
Eat a hearty breakfast and hydrate thoroughly.
Arrive at the meetup point at least 30 minutes early to give yourself time to finish loading your bike.
Run through a quick final test of your brakes, air pressure, and gears.
Check one more time for loose gear or rubbing bags.
I love this so much! Wish I was living close buy to be part of it!