

Bikepacking Basics | Bags
This 3rd installment in our Bikepacking Basics Series covers the bags we use to carry gear, as well as what goes in each.

As part of our ongoing project to transition away from Facebook, this Bikepacking Basics Series is for newer riders, and will catalog some of the information previously covered in depth in the Facebook group. While you can find this information in many places, we hope that this will be an easy and unintimidating place to start.
Please add your own experience or questions in the comments below.
Remember our free community Gear Library. Many have used it to get started with bikepacking, or to test out different types of bags before deciding what to buy for themselves.
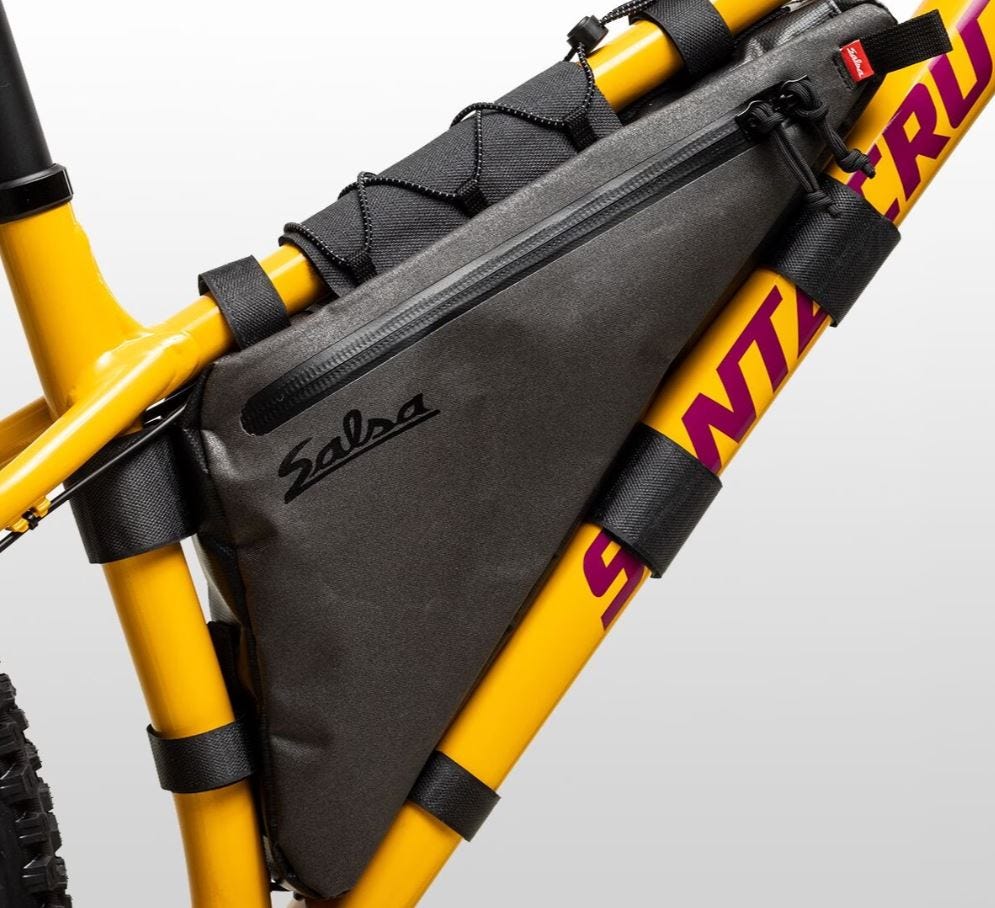
Frame Bags
AKA frame pack, triangle pack.
Nearly every bike has a triangle at the center of the frame. And nearly every bikepacker considers a bag in that triangle to be the first step toward riding loaded.
Tips
Here we recommend you pack your heaviest items. Water, tools, pump, spare tube, cook kit, and dense food.
Because it’s surrounded by the frame, this will be the most sturdy of your bags, and the least prone to bouncing loose or damage.
Try to find a frame pack that fits well enough to go edge to edge as much as possible.
Pitfalls
A bag that is too big for your triangle may splay out and get in the way of your pedals. We call this the pregnant goat look.
Be careful with the zippers. They can get a lot of use and tension, and are usually the first part of a frame bag to fail.
Most frame bags are not waterproof.
Our Favorites
DIY! If you’re interested in making your own bags, the frame pack is probably the place to start. Here is one among many online guides.
Revelate Designs packs are our favorite for off-the-shelf.
Many companies will make custom fit packs specifically for your frame. Some recommendations include Dmada (local), or online options including Rogue Panda, Rockgeist, or Bedrock.
Handlebar Packs
AKA handlebar bag, front pack, cradle, or harness.
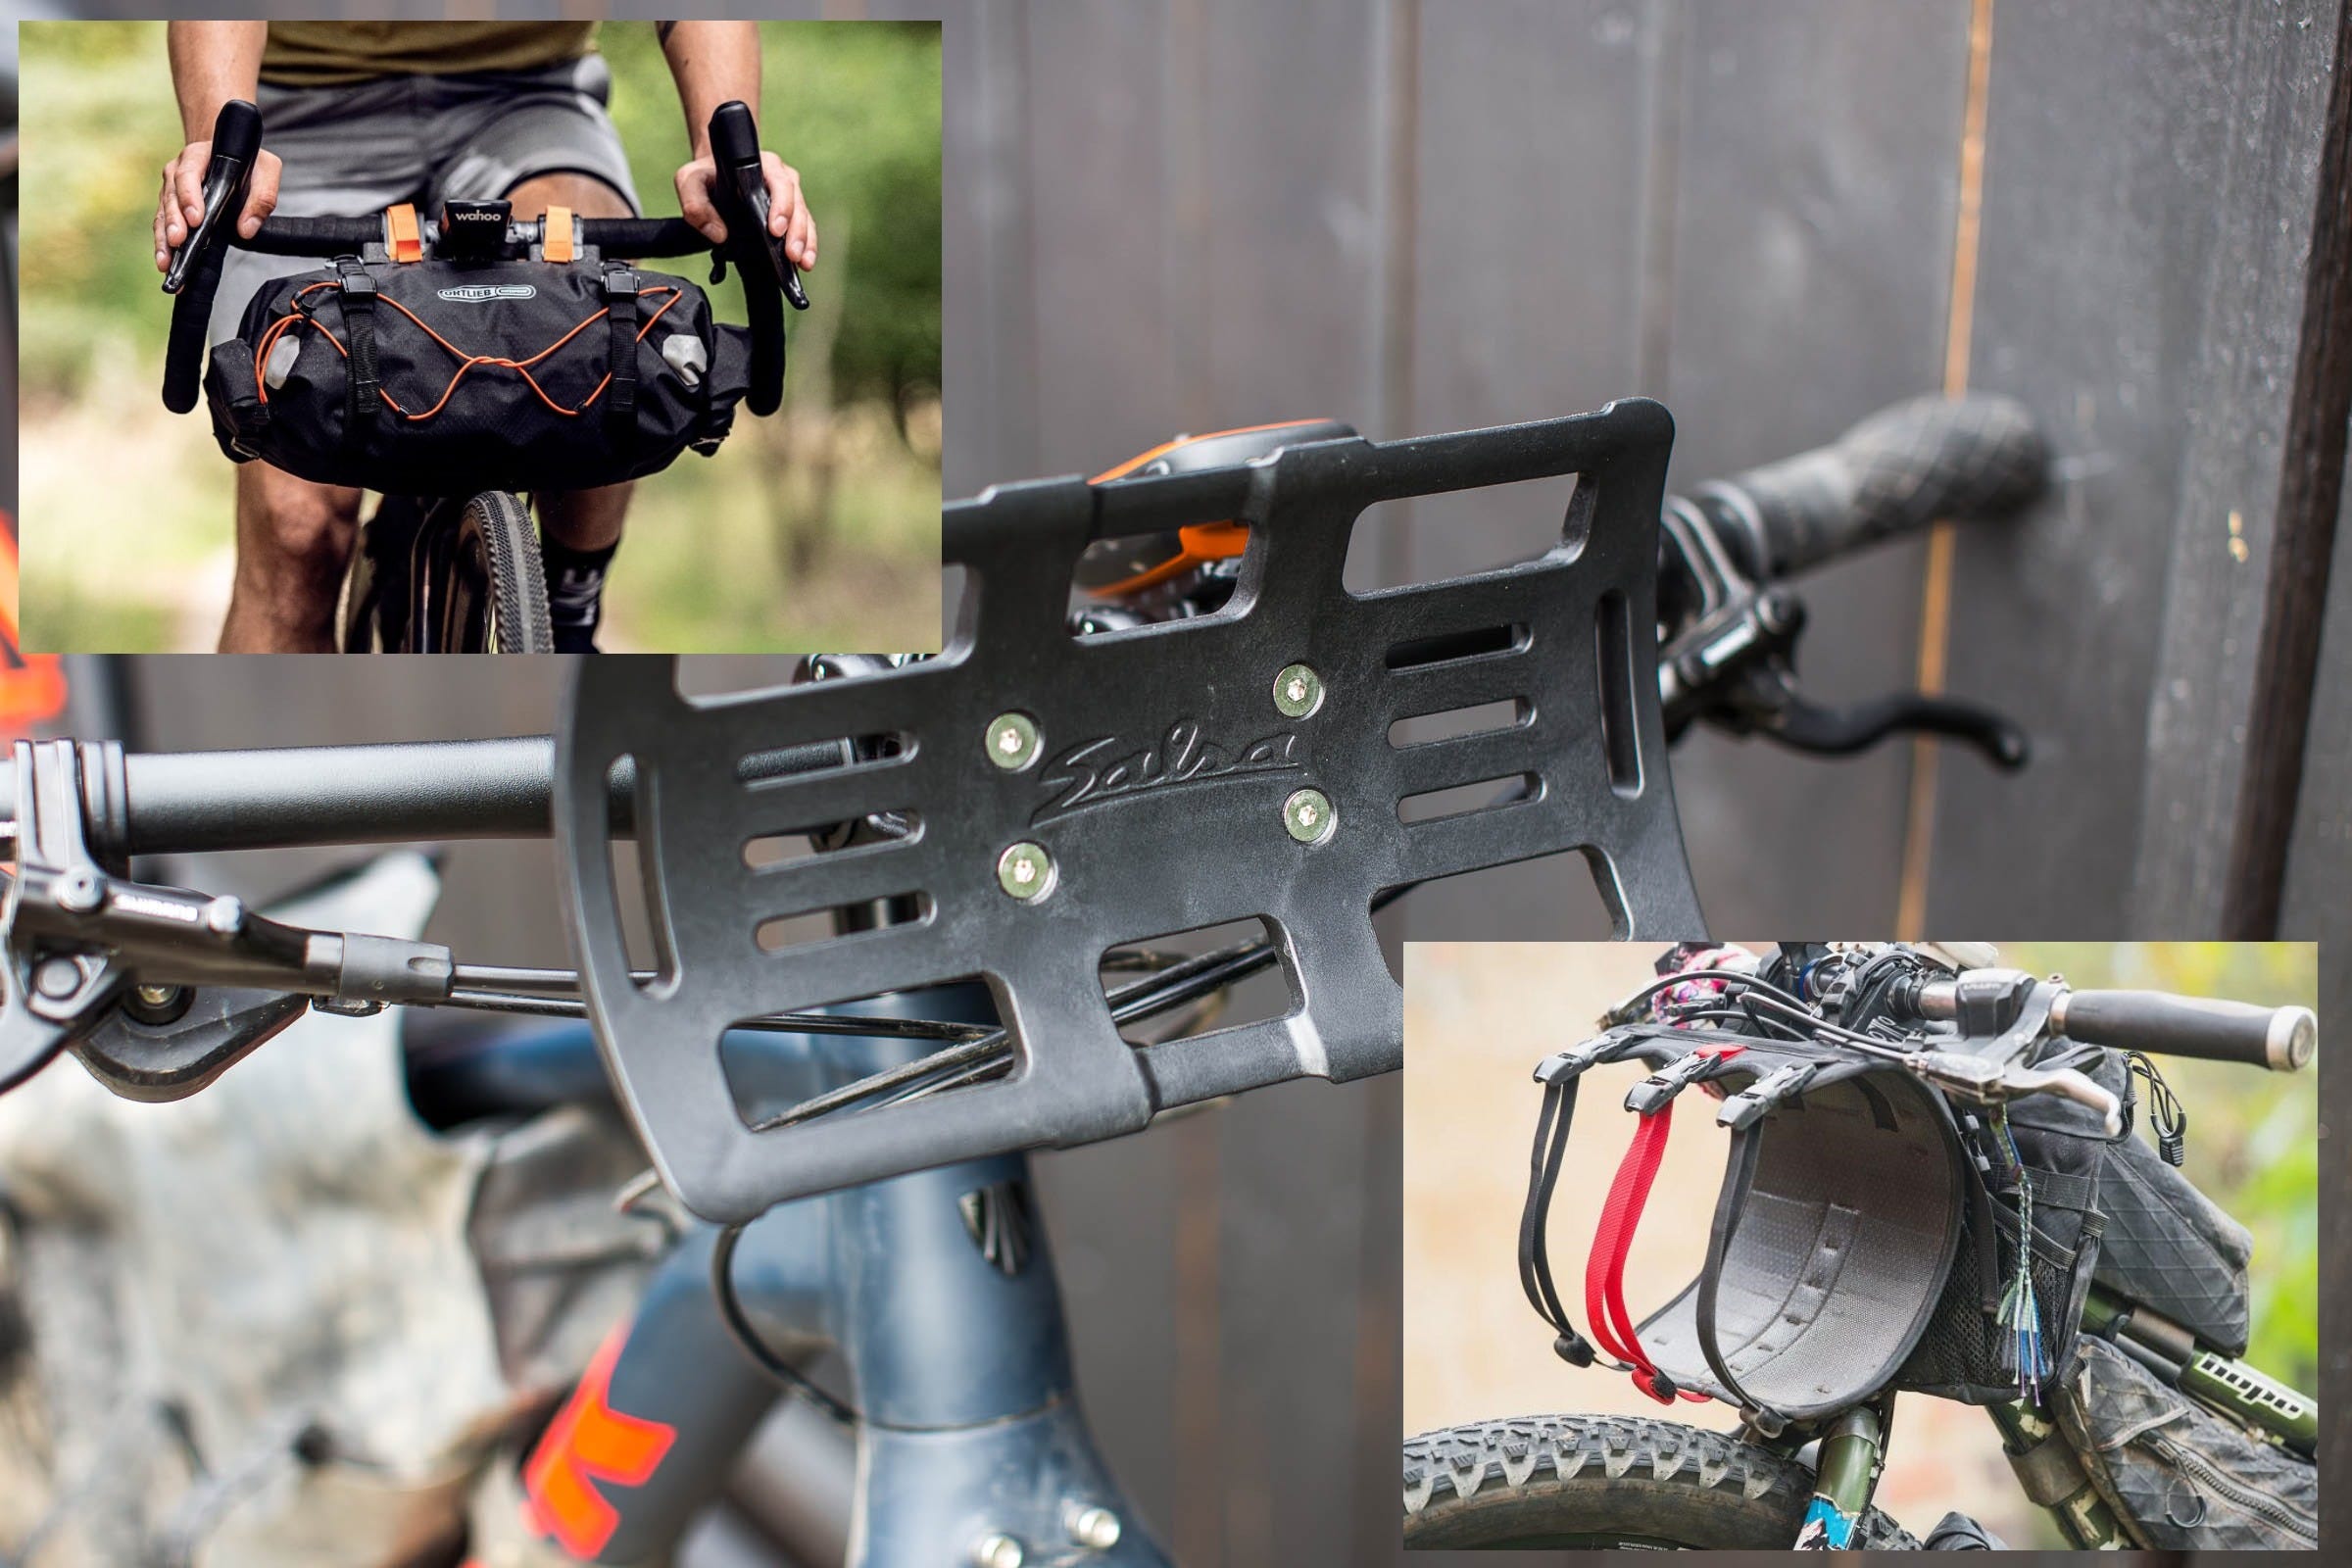
Here we would include anything that attaches to your handlebar, in three main categories.
One-piece bag with straps included (e.g. Ortlieb Handlebar Pack)
Soft harness that holds a dry bag (e.g. Revelate Designs Harness)
Rigid cradle that holds a dry bag (e.g. Salsa EXP Cradle)
Tips
Here we recommend you pack your sleep system.
Usually this part of your kit will be waterproof, so use it accordingly.
Avoid heavy items or too much total weight, as it will have the most effect on handling (steering and suspension).
Think “high and tight.” Compress everything well and tighten all straps as much as possible.
A small fender (cheap to buy or easy make yourself) will help to keep mud and other debris off your bag.
Pitfalls
This is the most risky area to have something come loose. A cord or sleeve tangling in your front wheel is especially dangerous.
Adequate tire clearance is important! Any contact between your bag and tire will at least damage the bag and possibly cause a crash. Leave at least 3 inches of clearance between the bottom of the bag and your tire. Even more if you have front suspension.
Working around brake and shifter cables can be a challenge. Generally it’s best to strap from under / behind the cables, avoiding too much pressure on or bend in the cables.
Our Favorites
For all around sturdiness and simplicity we love the Salsa EXP Cradle. It hold your load away from cables, so there is no conflict there. The angle can be adjusted to avoid tire contact on even the smallest of frames. The downside to this system is the weight (500 g / 18 oz).
For a minimal and very light setup, we love the Revelate Designs Pronghorn. It’s solid but super light (140 g / 5 oz).
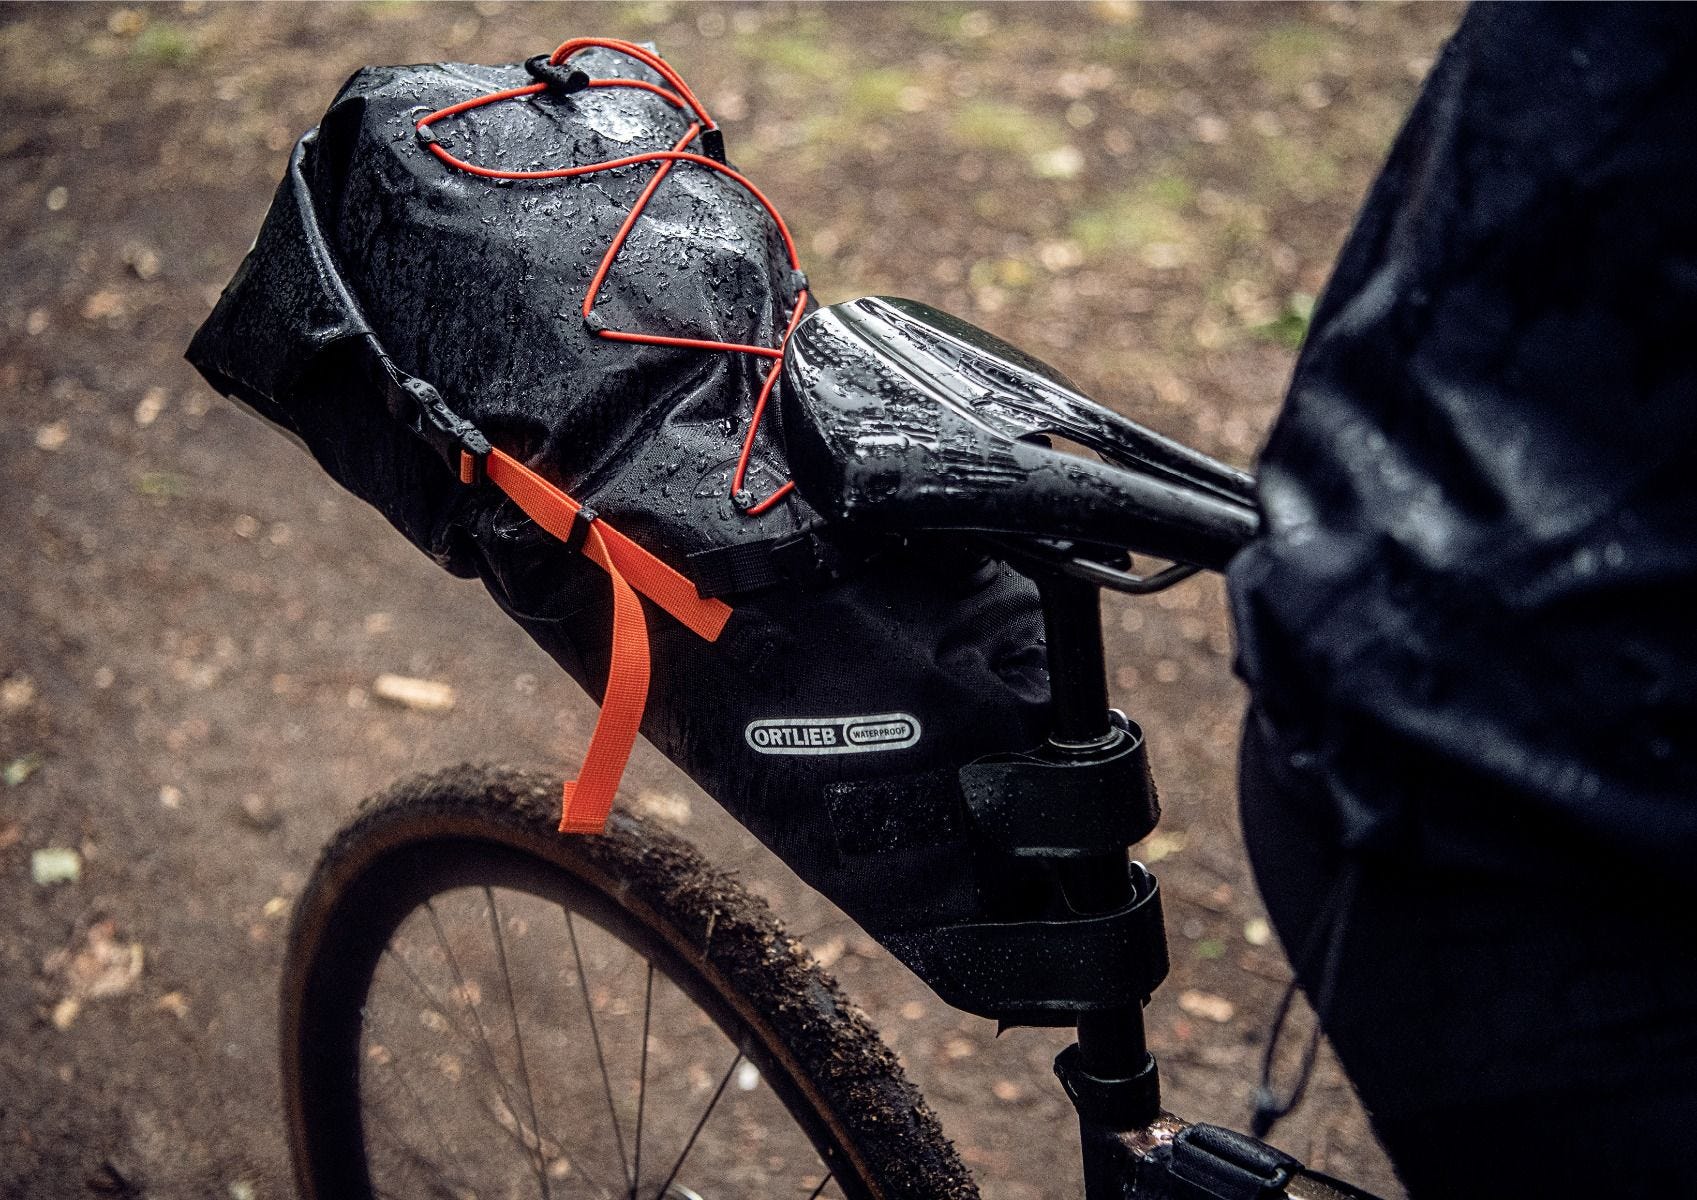
Seat Packs
AKA seat bag, saddle bag, rear bag.
Tips
Here we recommend you pack your clothing.
Some seat packs are waterproof. Know if yours is or not and pack it accordingly.
Avoid heavy items or too much total weight here, as it will be more prone to bounce, sway, and affect your bike’s handling if heavily loaded.
Think “high and tight.” Compress everything well and tighten all straps as much as possible.
If you want to be able to use your dropper post, do some more advanced reading here.
Pitfalls
This is the another risky area to have something come loose and tangle in your wheel. Don’t trust compression cords on the top (see photo above for an example) to hold things well. If it can bounce loose it will!
Adequate tire clearance is key here as well. Any contact between your bag and tire will quickly damage the bag. Leave at least 3 inches of clearance between the bottom of the bag and your tire. Even more if you have rear suspension.
If you have a dropper post, tape the stanchion to prevent damage before strapping anything to it. Use something that won’t leave a residue (we like non-adhesive medical tape like Coban).
Our Favorites
For taller riders with a medium or large frame, we recommend a Revelate Terrapin. Or the Bedrock Black Dragon if you want to be able to use your dropper post.
For smaller frames, consider the Rogue Panda Ripsey or the Portland Design Works Bindle.
Stem Bags
AKA Feedbag, stem pack.
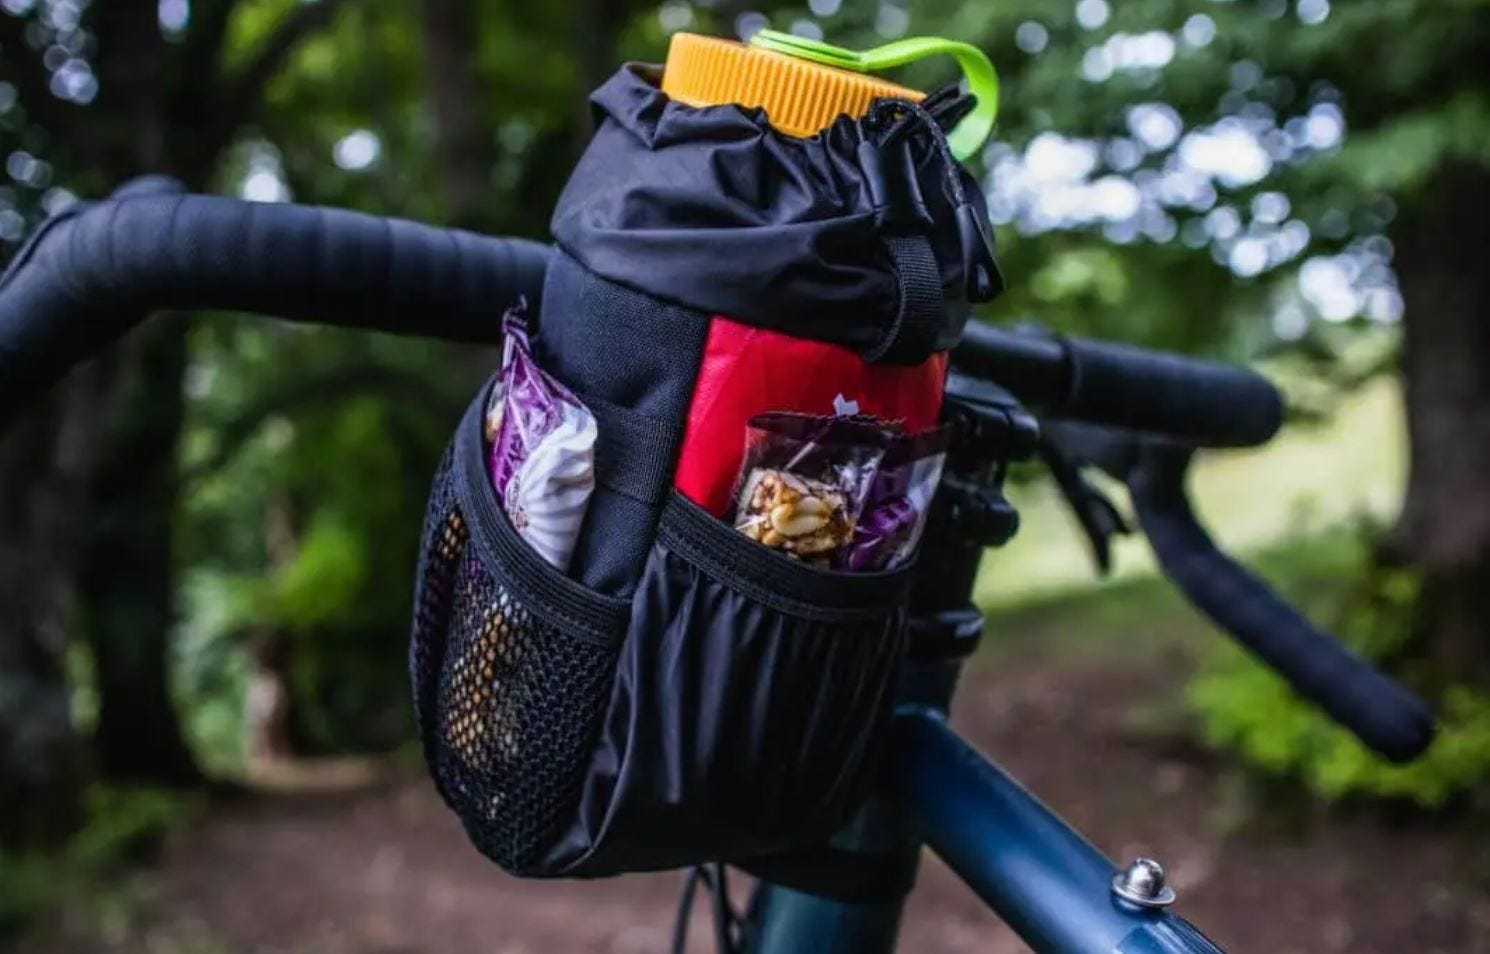
Stem bags generally attach at three points — your stem, handlebars, and lower down around the fork crown or headtube. Add one or two to quickly expand your carrying-capacity.
Tips
Think quick-grab items, snacks, phone, sunscreen, etc.
Some use these to carry a nicer camera or spare lenses.
This can be a great way to carry more water. Most brands will hold a large water bottle or even a 1 liter Nalgene.
Pitfalls
Secure contents well, and resist the temptation to leave the top open. If it can bounce out, it will!
Test your steering. On some bikes, a stem bag or two will limit how far you can turn the handlebars.
The shorter your stem (e.g. modern-geometry mountain bikes) the less space there will be for attaching a stem bag, and the more likely it is to interfere with steering.
Our Favorites — Revelate Designs Mountain Feedbag is well made and durable. The one-hand open and close system is very handy for useing it on the go.
Top Tube Bags
AKA gas tank, top tube pack.
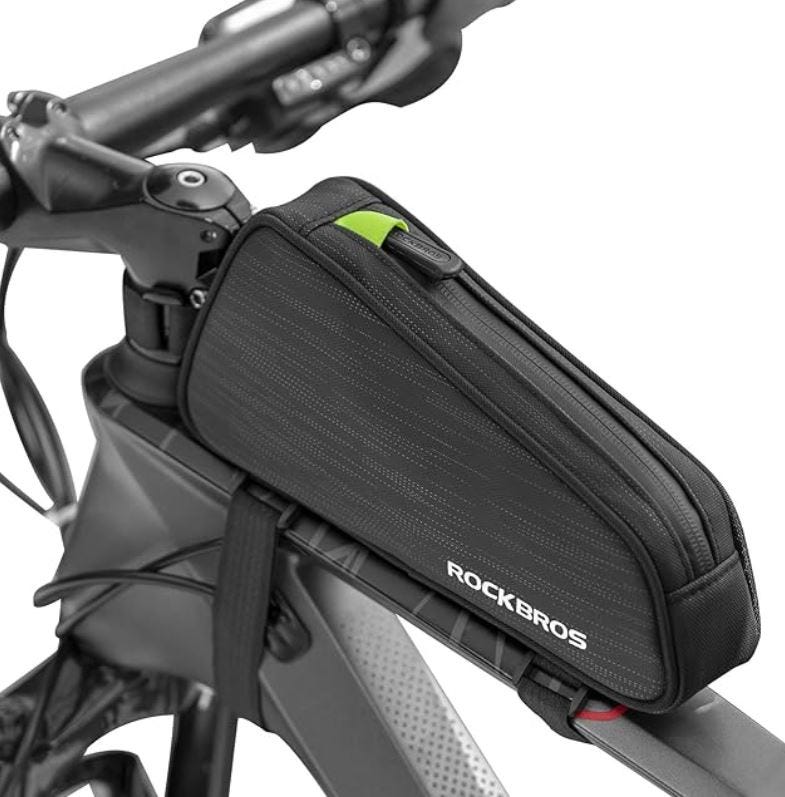
Top tube bags sit on the front of your top tube, and attach there and to the headtube.
Tips
Think quick-grab items, snacks, phone, sunscreen, etc.
Some use these to carry a nicer camera or spare lenses.
Pitfalls
Don’t count on waterproof, even as marked as such.
Otherwise, these are very simple, fit any frame, and are nearly foolproof!
Our Favorites — Because these are so simple and rely mostly on the frame for stability, it’s hard to go wrong. Go with the size, shape, and price point that works for you.
Down Tube Bags
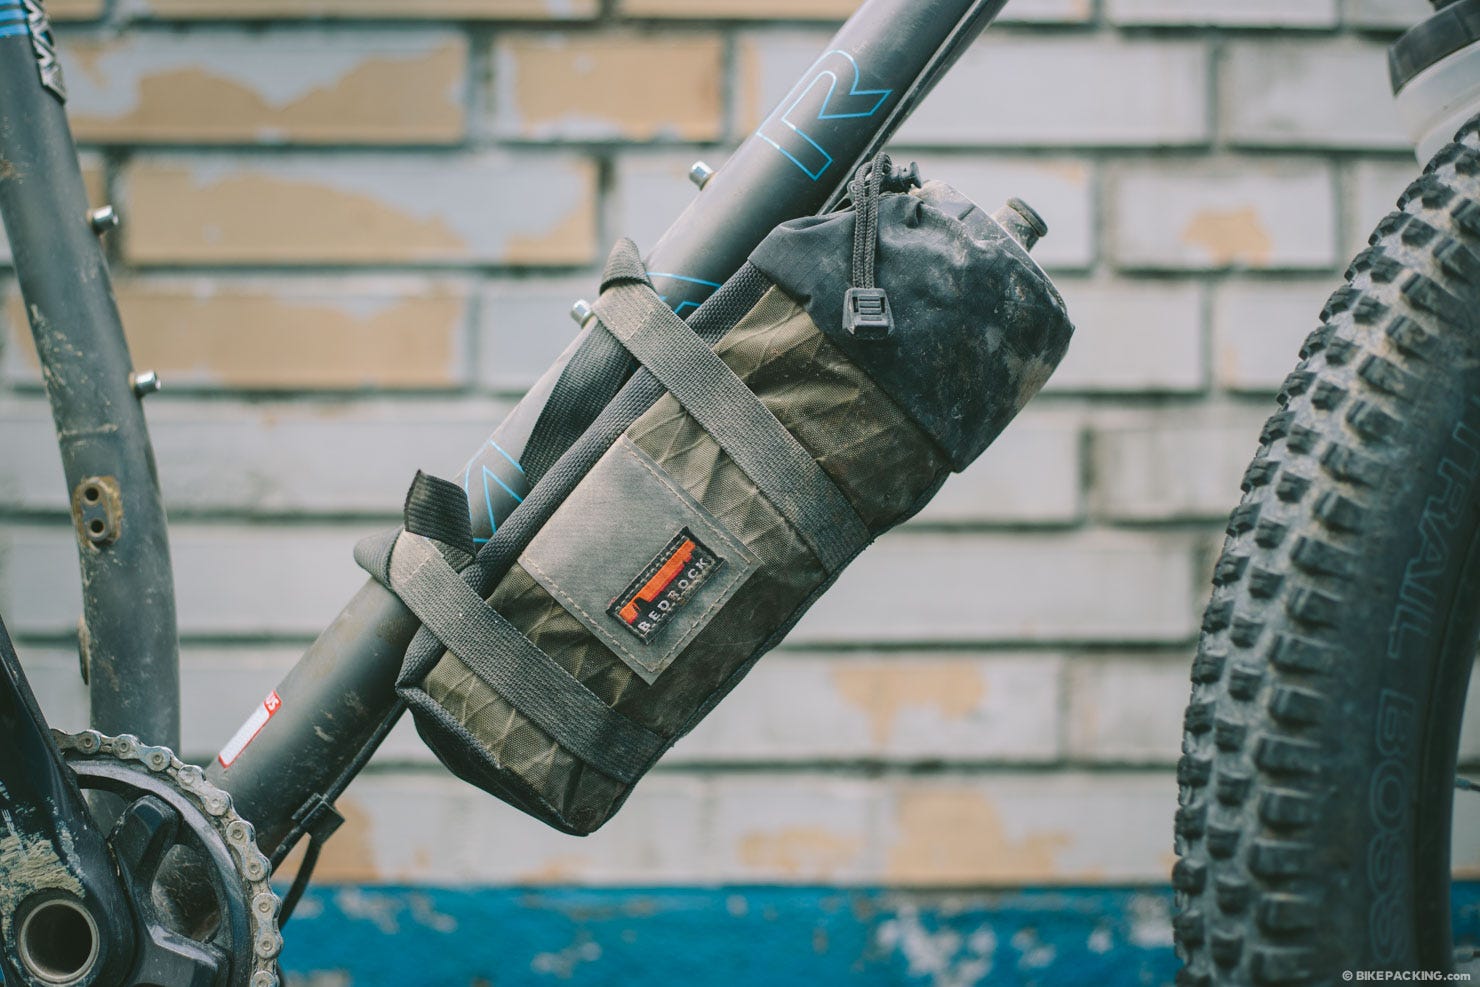
Downtube bags hang on the underside of your downtube. They are meant for bikes that don’t already have bottle cage mounts in this area of the frame.
Tips
Because it’s at the lowest point of your setup, this is a great place for heavy items.
Recommended contents include tools, spare tubes, fuel, water, or dense food.
Avoid putting items here that you will need to access quickly or frequently.
Pitfalls
Down tube bags tend to get very dirty, wet, or muddy from the front wheel.
Be sure you have adequate clearance for your pedals and front wheel.
You won’t be able to see this bag as you ride. Be sure it’s secure and closed tightly.
Our Favorites — Bedrock Honaker or Revelate Designs Joey.